Is your trusty riding lawn mower making strange noises or not functioning as smoothly as it used to? You might be dealing with a worn-out or faulty pulley.
Whether you’re a seasoned DIY enthusiast or just starting to get your hands dirty, learning how to remove the pulley from your riding lawn mower is a valuable skill. Not only can it save you time and money, but it also empowers you to keep your machine running efficiently.
Imagine the satisfaction of hearing your mower purr like new after a successful repair. This guide will walk you through the steps with clear, simple instructions that anyone can follow. You’ll discover the tools you need, the common pitfalls to avoid, and the insider tips that make the process a breeze. Don’t let a troublesome pulley stand in your way. Dive in and learn how to tackle this task with confidence. Your lawn—and your wallet—will thank you.
Quick Navigation
Tools And Safety Gear
Removing a pulley needs some important tools. Start with a socket wrench. It helps in loosening bolts. A screwdriver is also needed. It helps in removing smaller screws. Use a pulley puller for easy pulley removal. This tool is very helpful. Keep a rubber mallet handy. It helps to gently tap parts without harm. Finally, have a penetrating oil. This makes removing stuck parts easier.
Safety is very important. Wear safety goggles to protect your eyes. Gloves keep your hands safe from cuts. Use ear protection if it’s noisy. Ensure the lawn mower is off before you start. Double-check by removing the spark plug. This stops the engine from starting. Keep a clean space to avoid tripping. Always follow these steps for your safety.
Preparing The Lawn Mower
Removing the pulley from a riding lawn mower requires careful attention. First, ensure the mower is off and safe. Then, use the correct tools to loosen the pulley bolts. Carefully slide the pulley off the shaft, keeping parts organized for reassembly.
Positioning The Mower
Place the lawn mower on a flat surface. Make sure the area is well-lit. Safety is very important. Use blocks to secure the wheels. This stops the mower from moving. Wear gloves to protect your hands. Use tools that fit correctly. This makes the job easier. Check that the mower is off. This keeps everyone safe.
Disconnecting The Battery
Find the battery under the seat. Use a wrench to loosen the nut. Take off the negative cable first. This prevents sparks. Then remove the positive cable. Be careful not to touch both terminals at once. Lift the battery out carefully. Store it in a safe place. This keeps it from getting damaged. Make sure all tools are put away. Keep your workspace tidy.
Accessing The Pulley
First, park the lawn mower on a flat surface. Make sure the mower is turned off. Then, disconnect the spark plug. This keeps you safe. Lower the mower deck to its lowest position. Find the pins or clips holding the deck. Remove these pins carefully. Slide the deck out from under the mower. Be careful; the deck can be heavy.
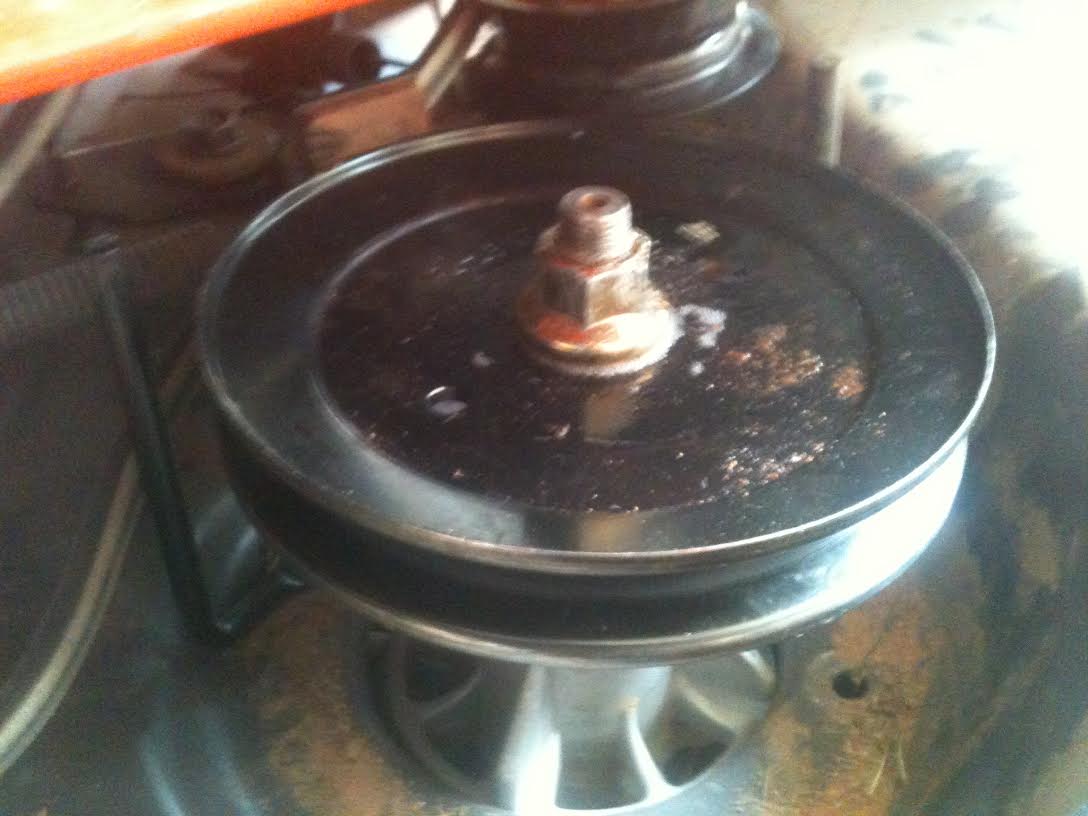
Look for the pulley on the mower deck. It is usually near the center. The pulley is a round wheel with a groove. It holds the belt that moves the blades. Check the pulley for any damage or wear. Make sure you can reach it easily. Now, you are ready to remove the pulley.

Credit: www.reddit.com
Detaching The Pulley
First, find the belt tensioner on the lawn mower. Use a wrench to turn the tensioner. This will loosen the belt. Slide the belt off the pulley. Make sure the belt is not tangled. Keep it aside safely.
Locate the screws on the pulley. Use a screwdriver to unscrew them. Turn each screw slowly. Make sure to keep the screws safe. Lift the pulley from the shaft. If stuck, gently wiggle it. Do not use force.
Installing A New Pulley
Get the new pulley ready. Carefully align it with the lawn mower. It should fit perfectly. Check if the hole matches the shaft. Make sure the pulley is not loose. Push it gently in place. Everything should be in line.
Place the belt on the pulley. Ensure it is not twisted. Use your hand to keep it steady. Now take a wrench. Tighten the bolt on the pulley. Make sure it’s tight. The belt should not be loose. Check if the belt moves smoothly. Your pulley is now ready.
Credit: diy.stackexchange.com
Reassembling The Mower
Removing the pulley from a riding lawn mower involves loosening the bolt and gently sliding the pulley off. Ensure safety by disconnecting the spark plug before starting. Carefully label and store any removed parts to simplify reassembly later.
Reattaching The Deck
First, slide the deck back under the mower. Ensure it aligns properly. Use the pins and clips to secure it. Check if the belt is placed correctly over the pulleys. Tighten any loose bolts. This prevents the deck from wobbling. Test the blades by rotating them with your hand. They should move freely. If not, recheck the alignment.
Reconnecting The Battery
Place the battery in its compartment. Connect the positive cable first. Then attach the negative cable. Ensure the cables are tight. Loose cables can cause the mower not to start. Use a wrench for better tightening. Check for any corrosion. Clean the terminals if needed. This ensures a good connection. Finally, close the battery cover securely.
Testing The Lawn Mower
The pulley must be aligned for a smooth ride. Check if the pulley sits straight. Use a ruler for a quick check. Look for any gaps or tilts. These can cause issues later. Fix them to avoid trouble. A misaligned pulley can damage the mower. It can also hurt the belt. Keep the pulley in line for best results. This simple step ensures better performance.
Start the mower and take it for a spin. Listen for any strange sounds. Feel for any jerks or stops. These are signs of trouble. Check if the mower moves smoothly. Watch how the blades cut the grass. Ensure the mower does not vibrate. Smooth operation means the pulley is fine. If problems occur, recheck your steps. Adjust if needed. A good test drive tells you everything.

Credit: www.youtube.com
Conclusion
Removing a pulley from a riding lawn mower is simple with the right steps. Start by gathering necessary tools. Safety matters; always wear gloves and goggles. Follow clear instructions to avoid mistakes. Take your time with each step. Patience ensures a smooth process.
Inspect the pulley for damage before removal. Clean the area for easy access. Once removed, maintain the mower to prevent future issues. Regular checks keep your mower running well. Now, you’re ready to tackle lawn care without stress. Enjoy a well-maintained lawn mower for a beautiful yard.